Focaccia

IMG_1198

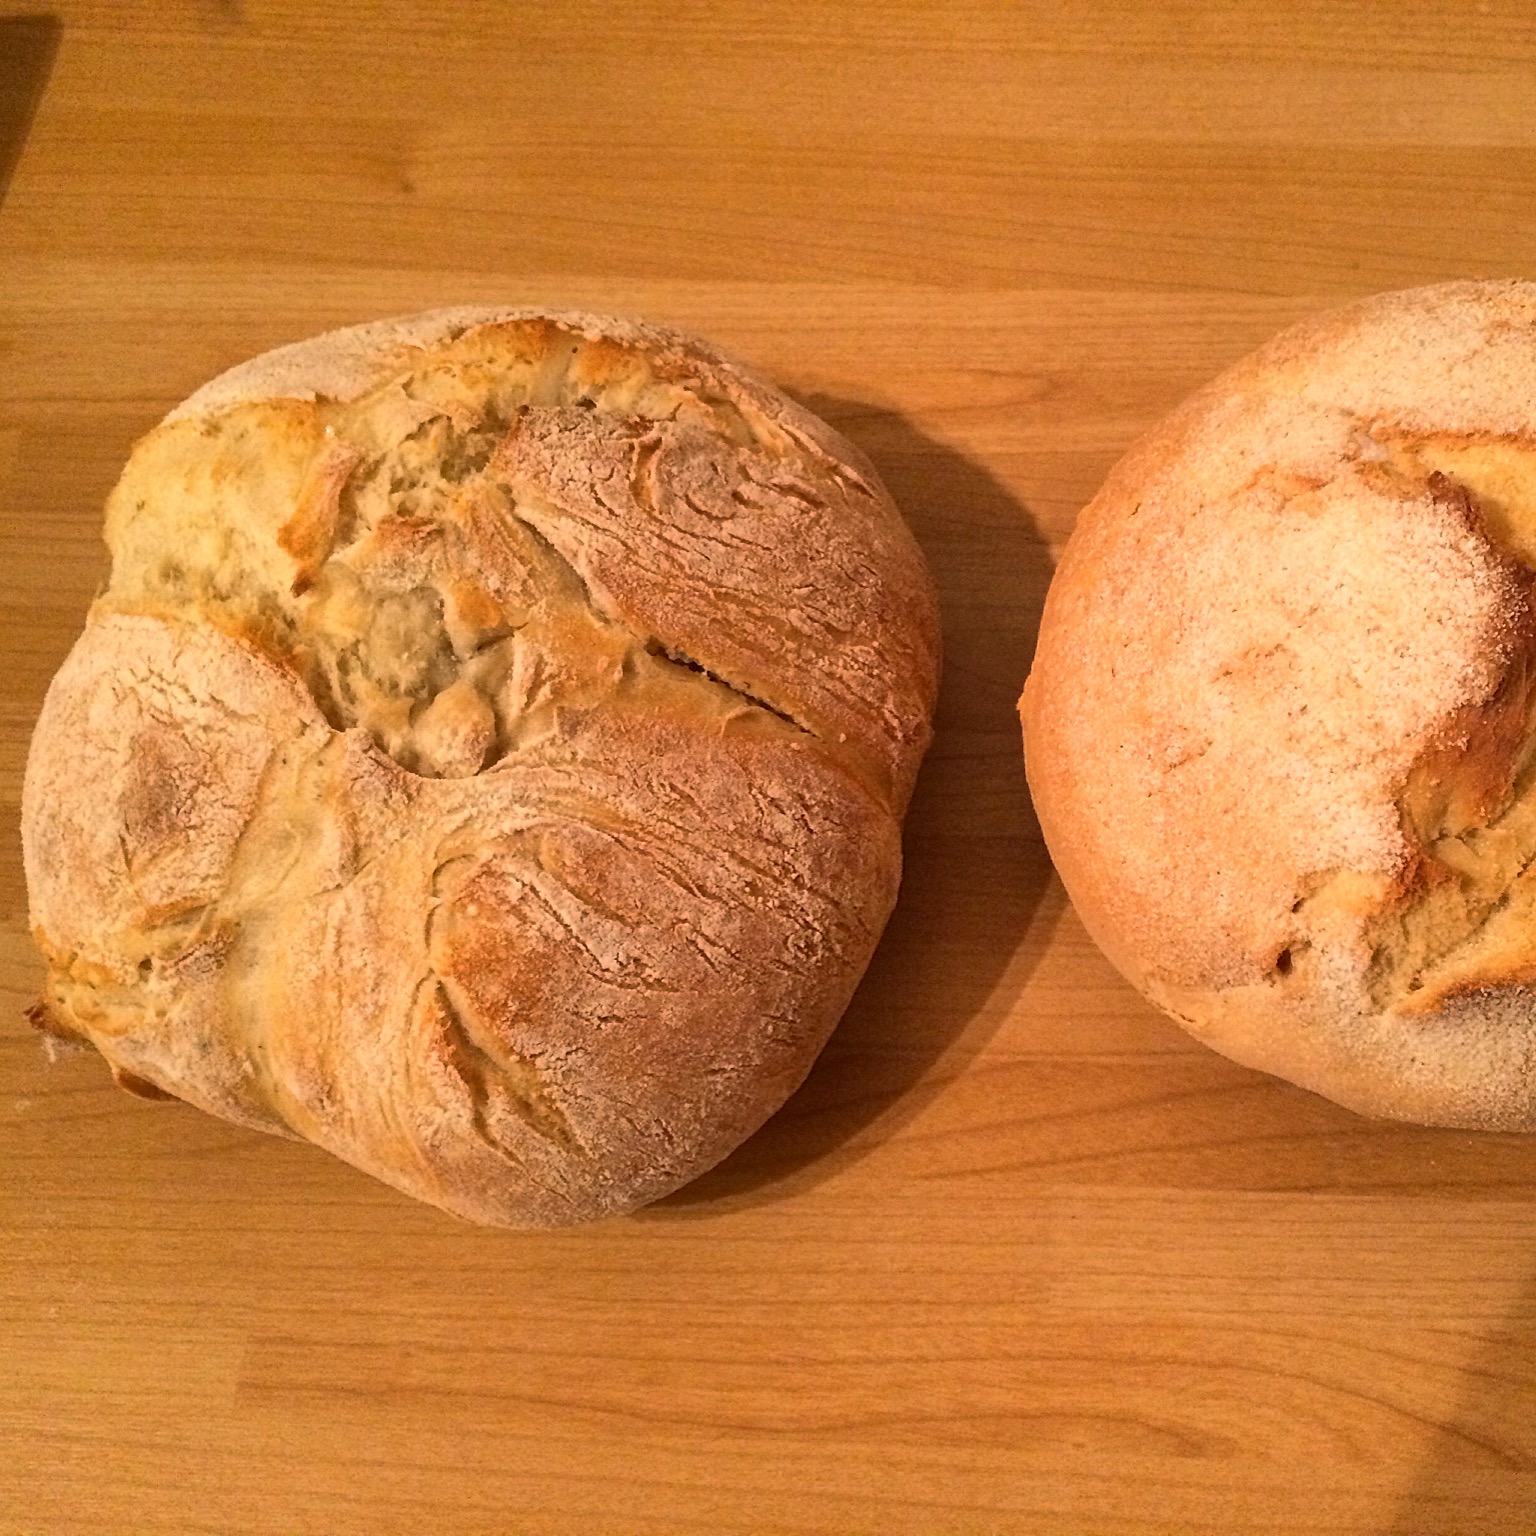
FOCACCIA or FOH-KAH-CHAH = Crusty outside, soft inside and extremely tasty!

If you love bread and pizza, you will have to try this amazing recipe.

This is extremely easy and fun to make!

#BringNonnaBack

Ingredients

500g strong white flour

300ml warm water

7g dry yeast

salt,1 pinch

olive oil,1 tbsp

For the topping :

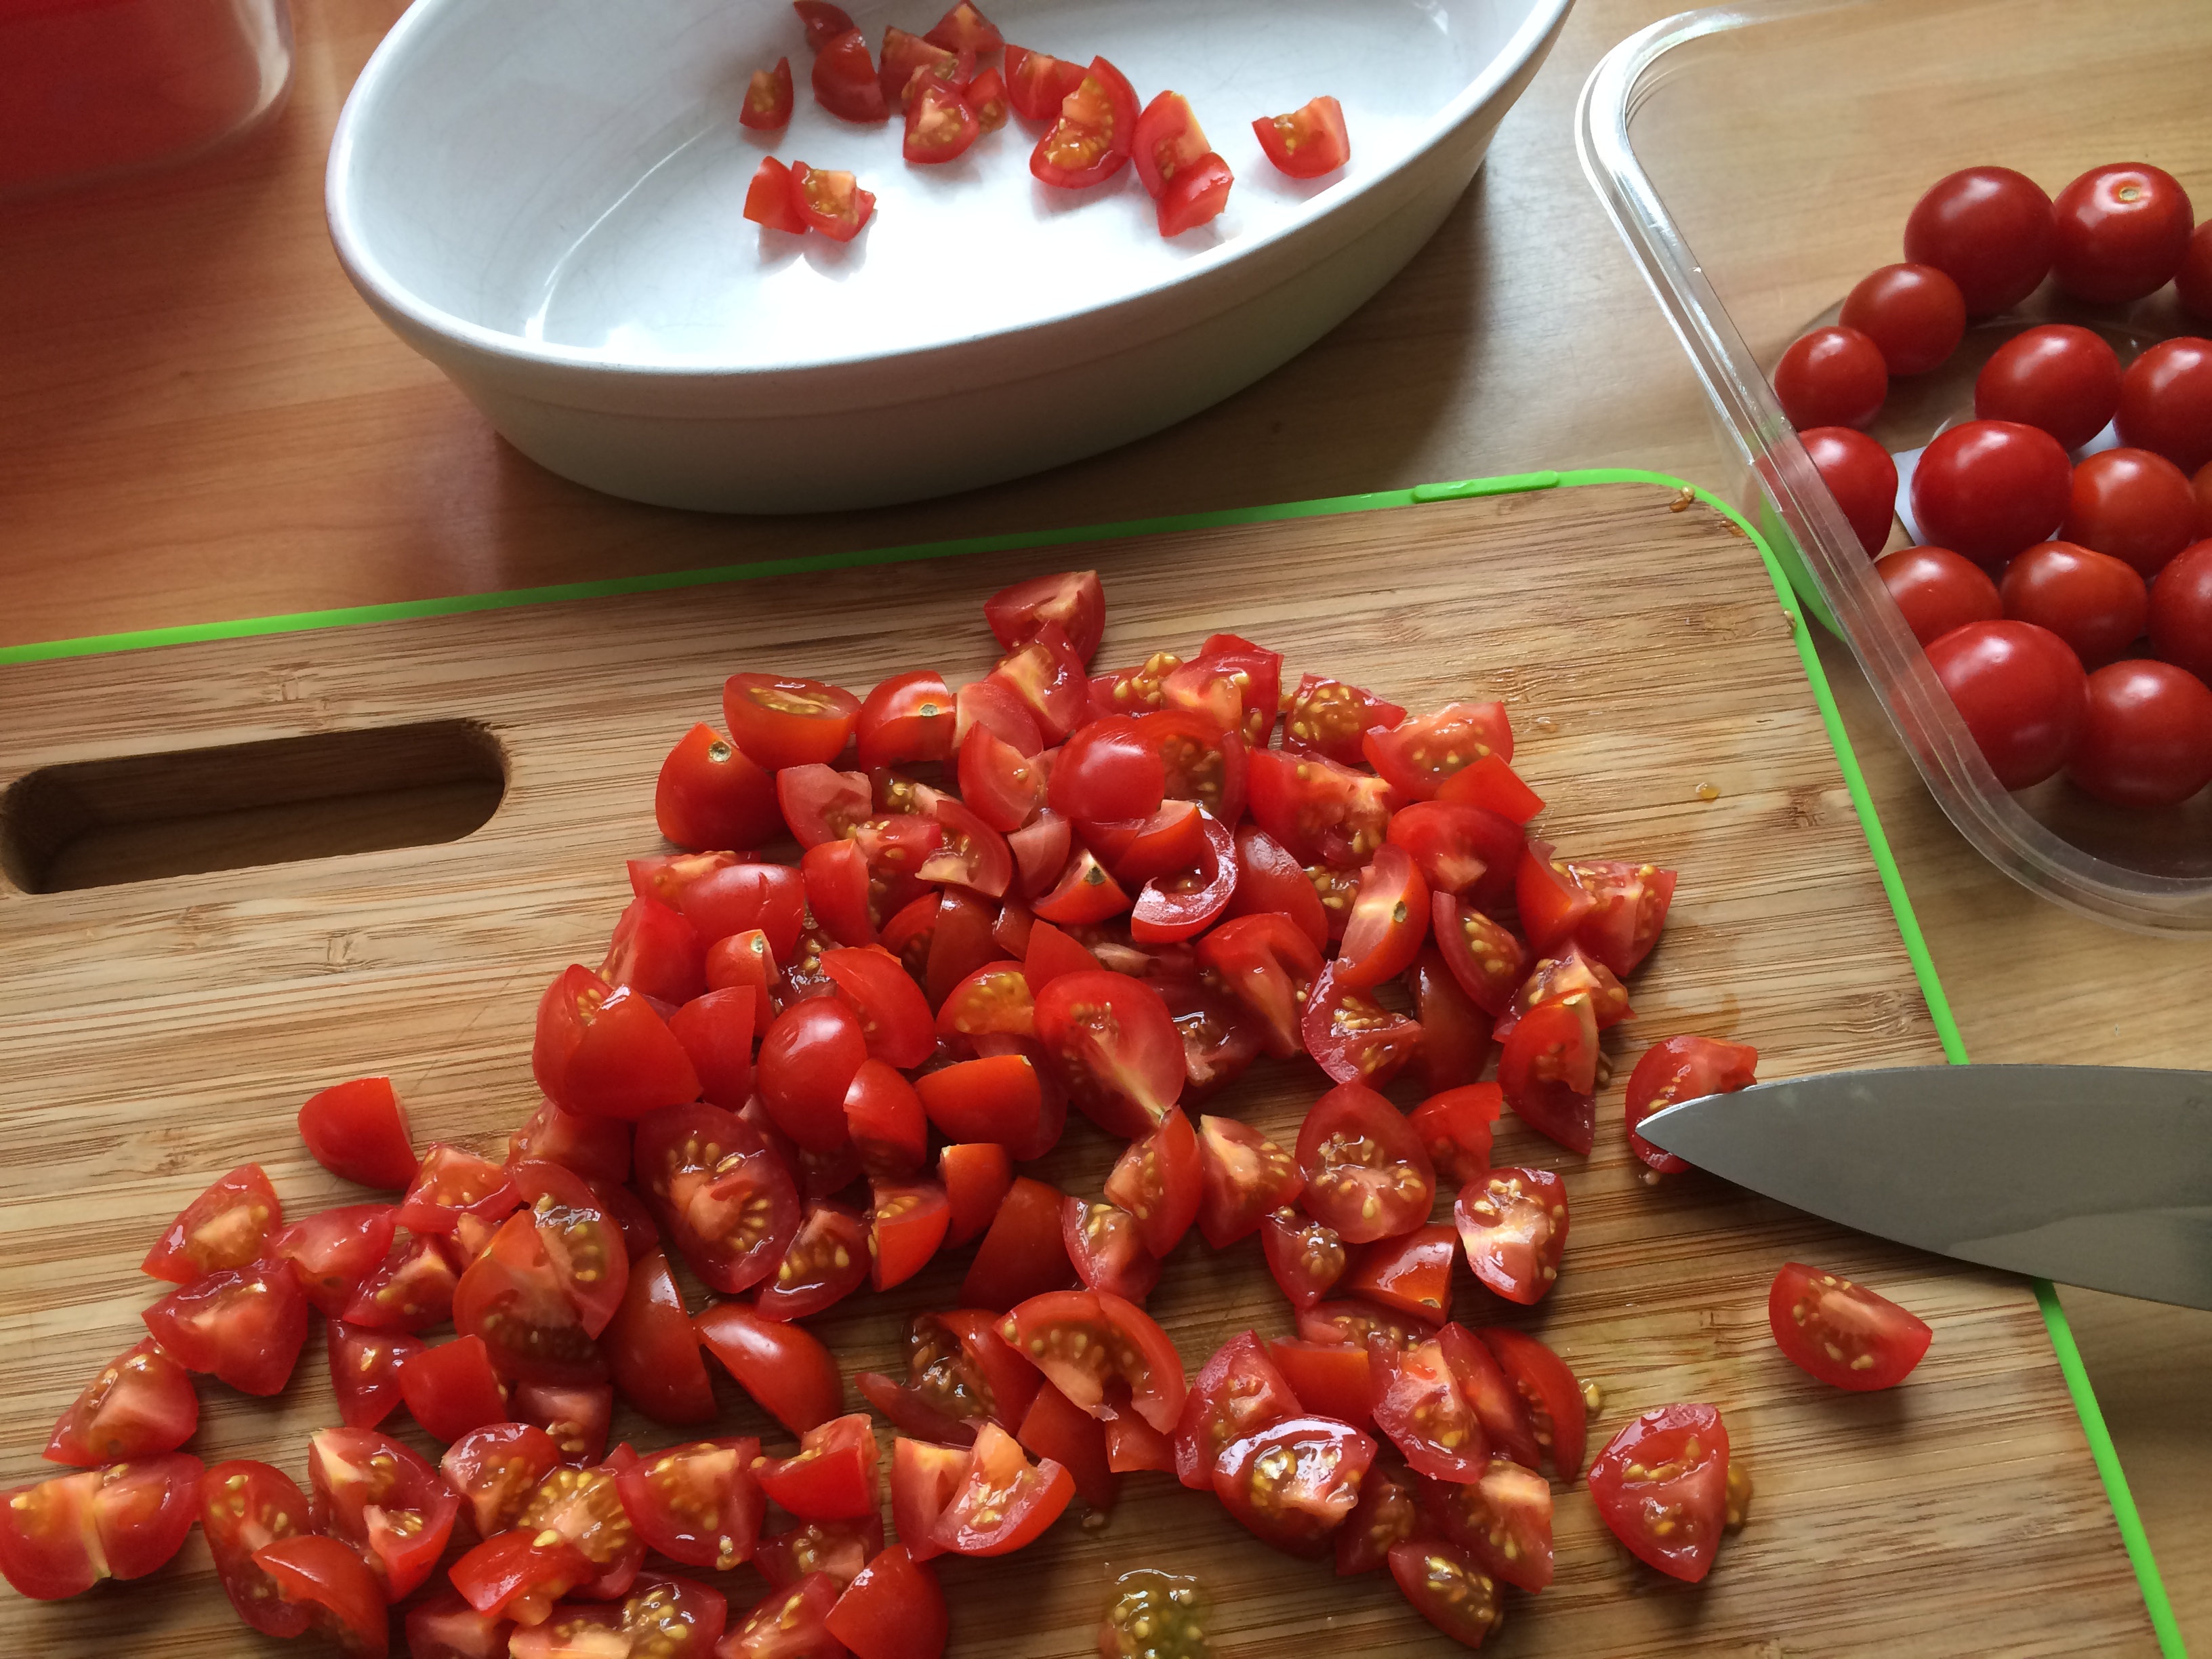
3 medium ripen tomatoes, sliced

1 tbsp oregano

1 clove of garlic, finely chopped

3/4 tbsp olive oil

salt, 1 pinch

Preparation

Put the flour into a large mixing bowl and add the salt. Gently mix with a fork. Pour half of the water into another mixing bowl and add the yeast. Thoroughly dissolve the yeast in the water until the water turns into a brownish colour. Pour some of the “brownish” water into the flour and with a fork or your fingers mix it all in. Continue to add water a little at a time ( you will have to add the other half of the water), combining well until you have picked up all the flour from the sides of the bowl. Add the olive oil. Once it is all combined, knead until you have a silky, smooth, elastic dough. Kneading: Push the dough out in one direction with the heel of your hand, then fold it back on itself. Turn the dough by 90 degrees and repeat. Kneading in this way stretches the gluten and makes the dough elastic. Do this for about 4 or 5 minutes until the dough is smooth and stretchy. Work quickly so that the mixture doesn’t stick to your hands – if it does get too sticky you can add a little flour to your hands. Now your dough needs to rest. Place it into a large bowl (you can use the same one you used for the flour), cover the bowl with a damp tea towel, this will avoid the dough once is proven to stick to the tea towel. Set it aside to prove (somewhere warm), this should take 1 hour and the dough should double in size. Now your dough is ready! Cut it in two halves or leave it whole depending on the size of your focaccia.

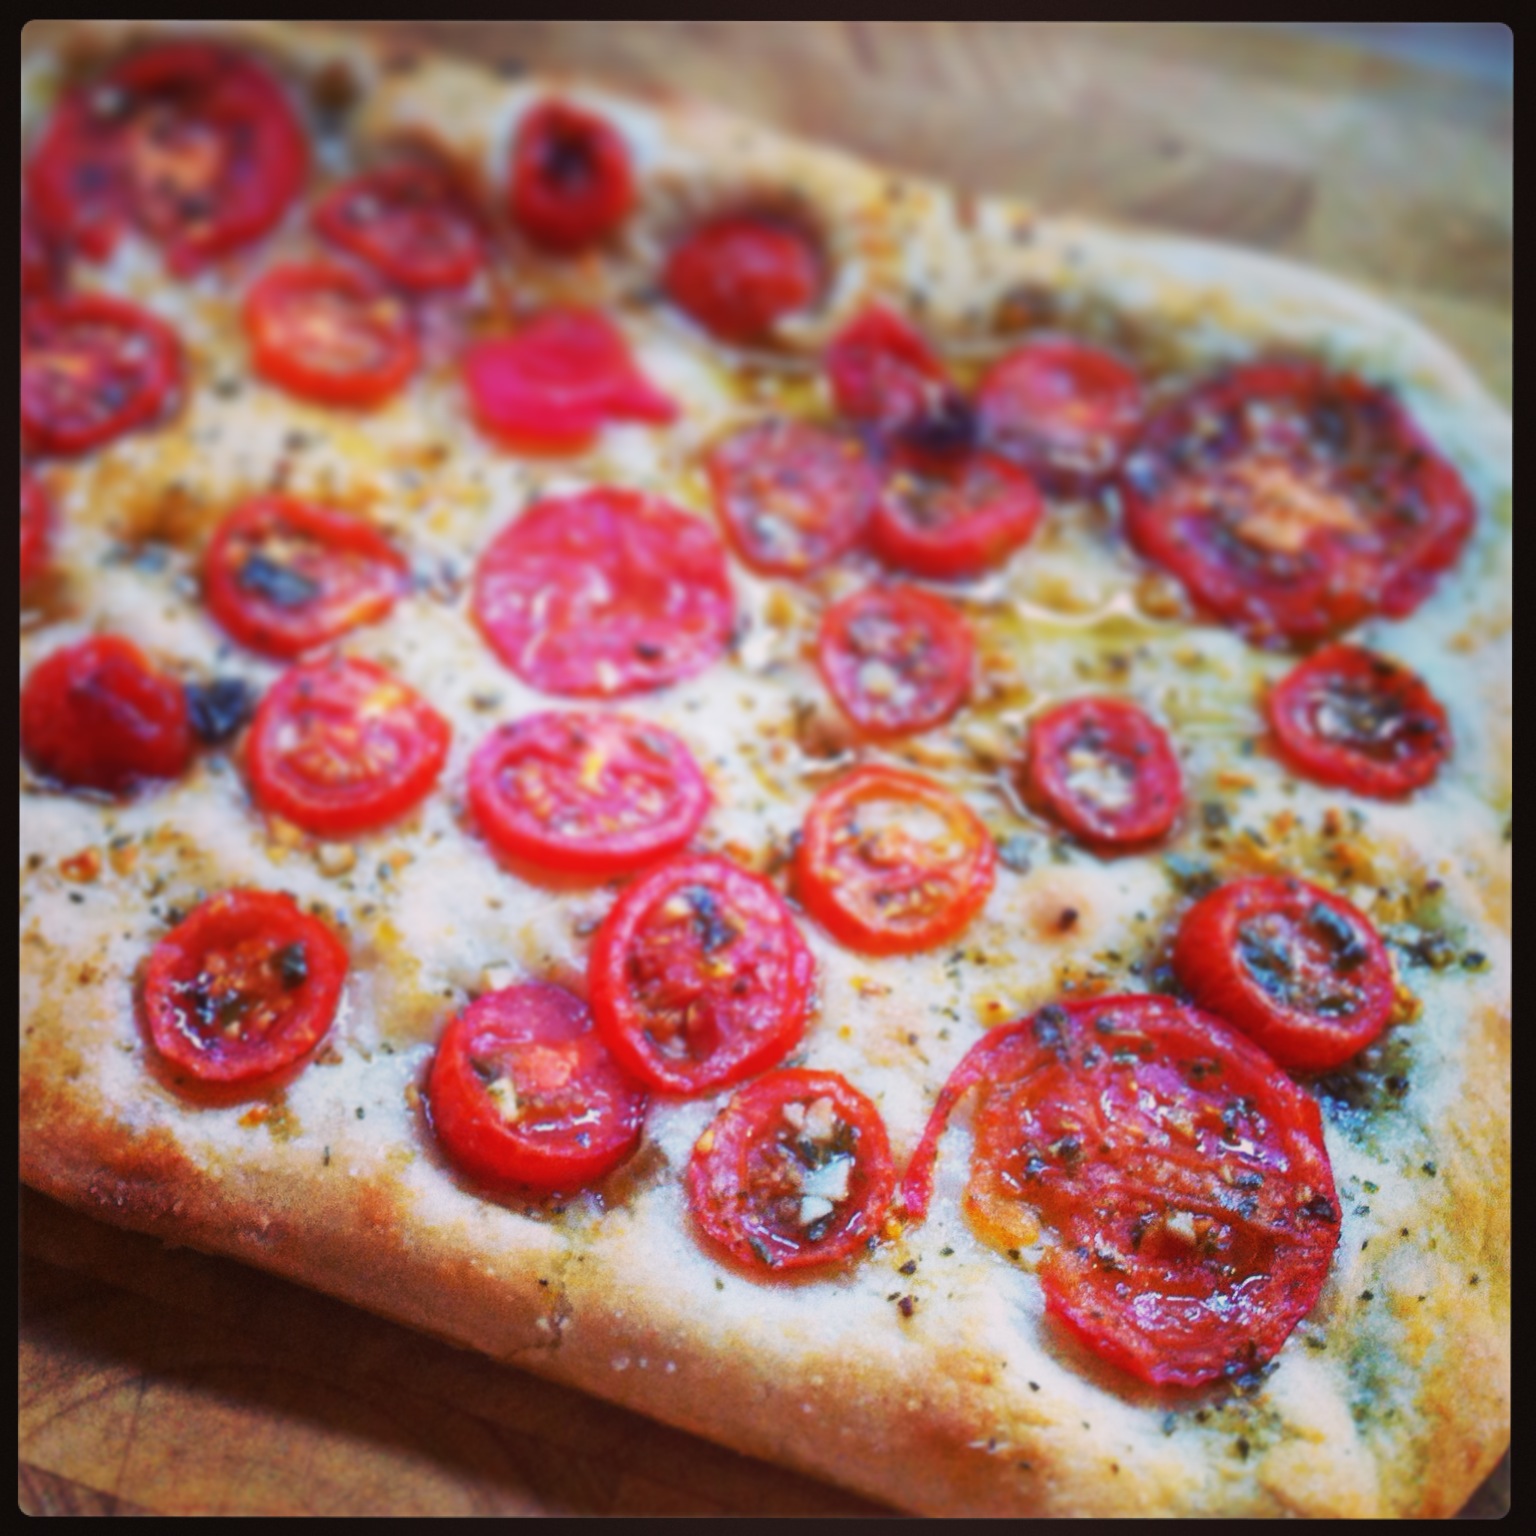
Roll the dough and flatten it onto a baking tray pushing to the corners. Use your fingers to make deep dimples in the focaccia, pushing them all the way through the dough to the bottom. Preheat the oven to 220C/425F/Gas 7. Place the tomatoes into the dimples, sprinkle the oregano, salt, garlic and drizzle  with the olive oil. Bake in the oven for 20 minutes….Pronto!  Serve hot or warm.

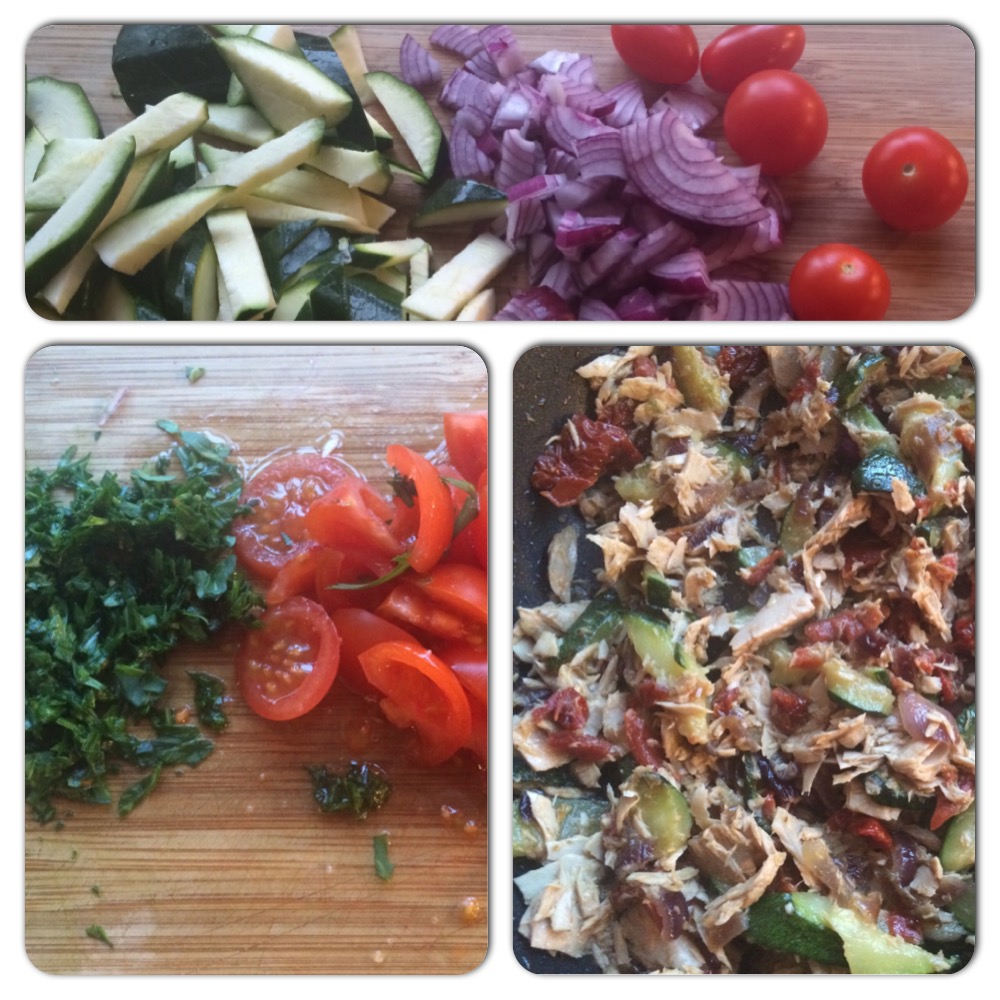
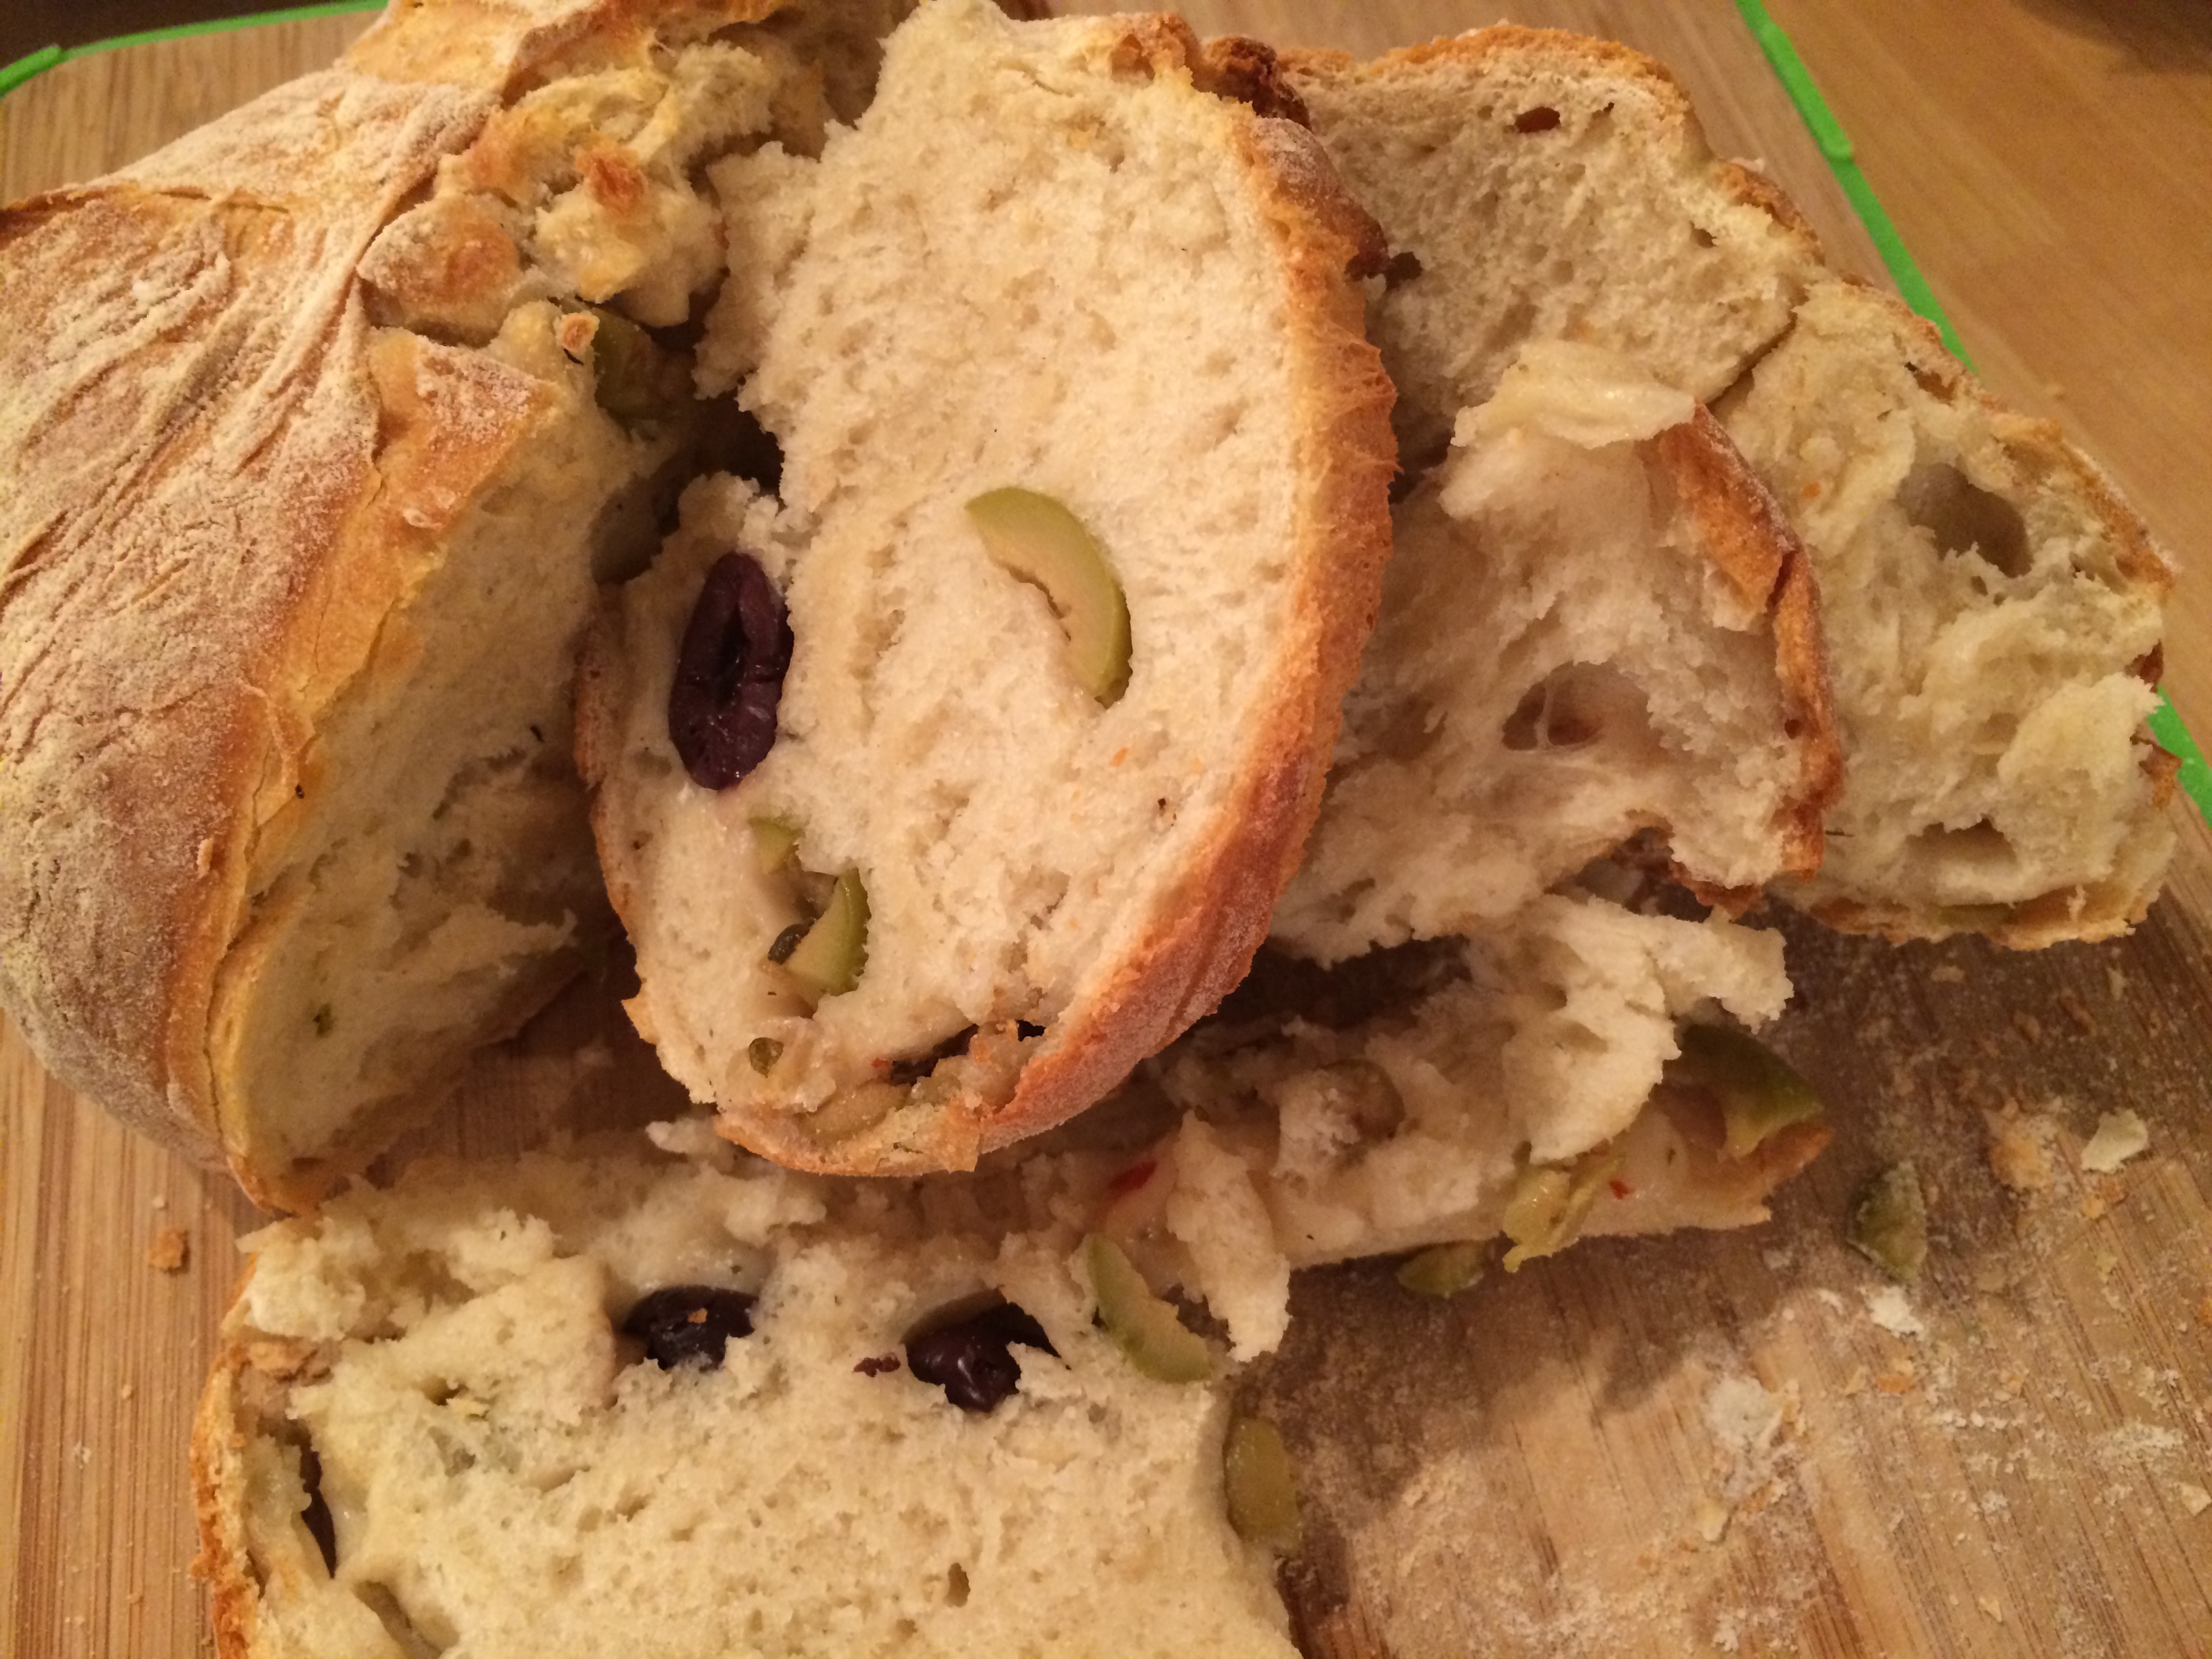
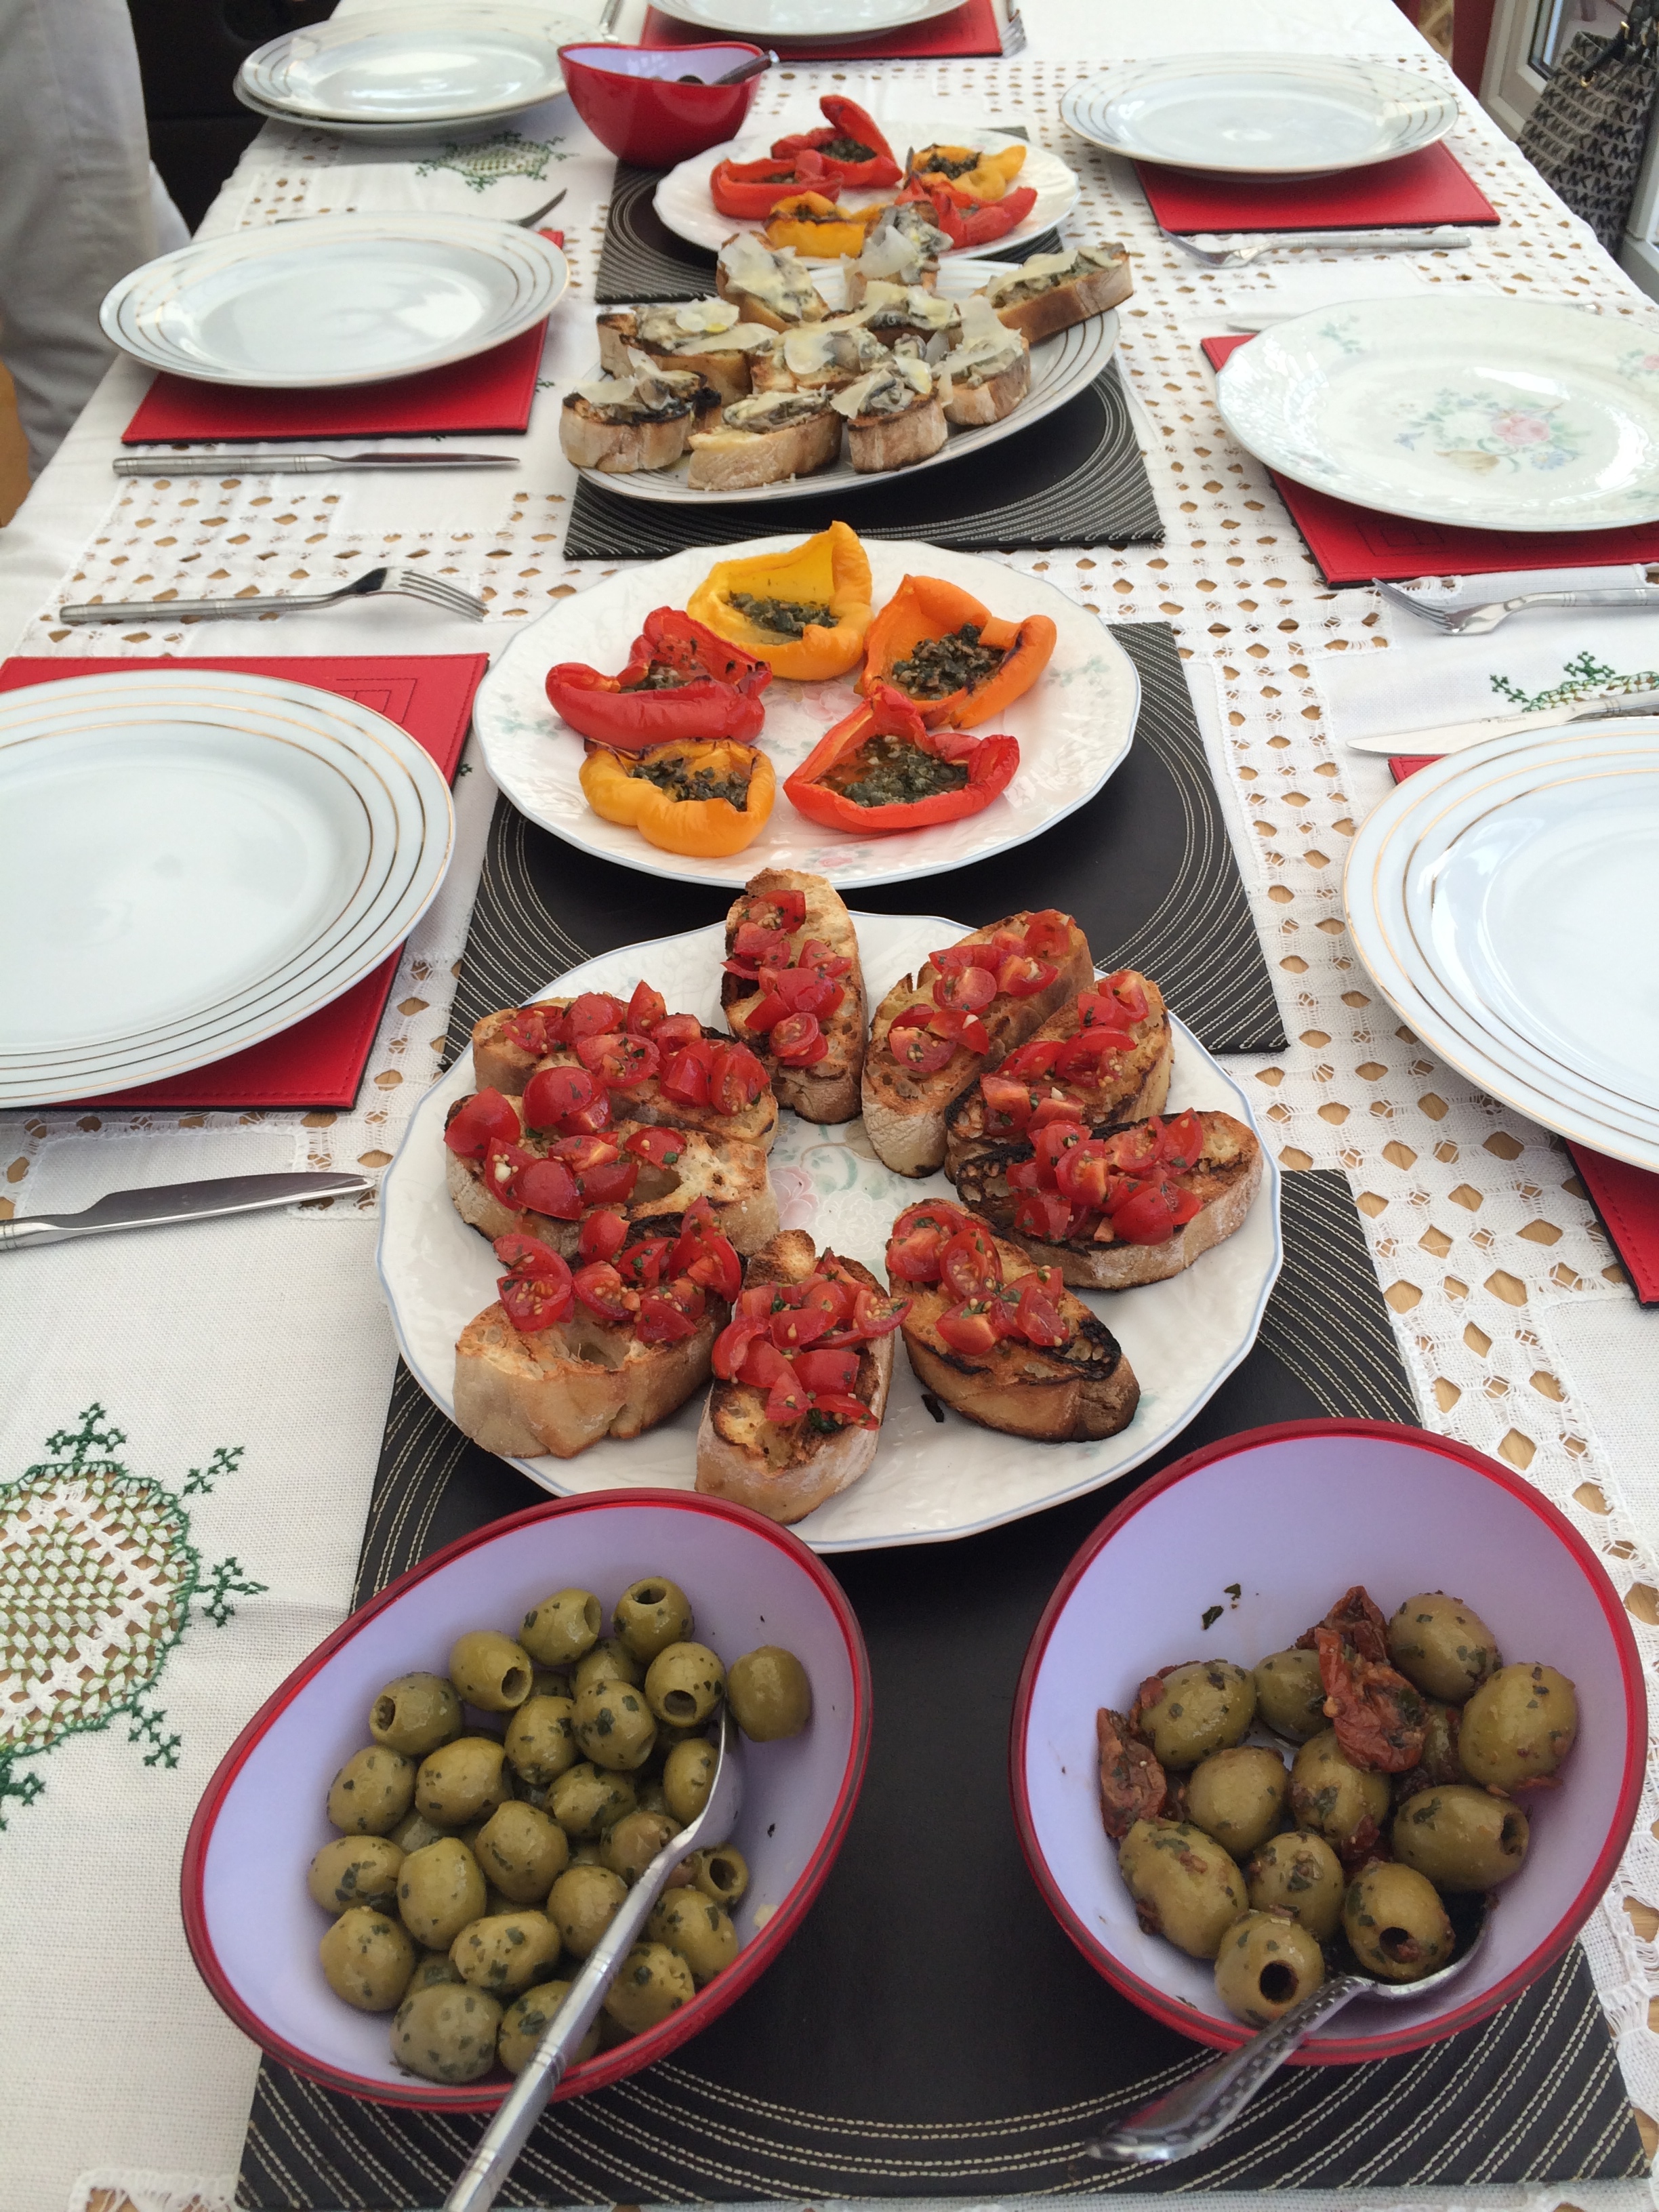
You can have lots of different toppings: red onion and rosemary, cheese and garlic, balsamic vinegar and white onion, olives and sun dried tomatoes…..Buonissimo!!!!!!

Fun Pasta

It’s Tuesday again and I have another quick and super tasty recipe for all the Mums out there who are probably very busy planning another full-on week……..This is extremely simple and tasty, I called it Fun Pasta as it’s “Child Friendly” and fun to eat hot or cold ( pack lunch ready for tomorrow too……..thinking ahead!!!!)

P.S. This recipe is dedicated to an old friend of mine, who knew how much I enjoyed cooking since we were both studying at Uni and in those days food was not a priority!  Grazie Lukino 😉
IMG_1465

Ingredients

300g Short pasta (Penne, Farfalle, Fusilli)

1 large courgette (finely sliced )

1 tin of tuna

10/12 cherry tomatoes (halved)

1 medium red onion (finely chopped)

1 handful of basil, chopped or rocket

salt

2/3 tbsp olive oil

Preparation

Boil some water for the pasta (don’t forget to add a tablespoon of coarse salt in the water). Put the pasta into the water and cook for 10/12 (following the cooking time on the packet).

Put the olive oil in a pan and add the onion, courgette and salt. Cook for 5 minutes and add the tuna ( make sure it’s drained). Keep stirring and gently add the tomatoes and the basil (or the rocket). Cook only for a few minutes. The tomatoes need to stay crunchy.

The pasta should be ready by now. Drain it and pour the sauce into the pasta. Mix it together, add some parmesan cheese, Pronto! Enjoy……………….even the next day!

FullSizeRender

Spaghetti al Sugo Semplice (Simple Sauce)

Easy peasy…….. super quick!

One of the quickest meals ever, ideal for dinner on a school day where we become taxi drivers driving backward and forward from school to the after school clubs. Where we get home realising that we have no dinner ready…. There is just not enough time in a parent’s day and this is my saving dish, my last resort, the one that all kids love (even the other people’s kids!!!).  It takes 15 minutes to make the sauce while the pasta is cooking in boiling water.  15 “very important ” minutes of your evening……after that you can put your feet up or try to! Parola di mamma e di Nonna x

This is another #BringNonnaBack recipe! Simple, tasty, wholesome.. just like how my Nonna would do! Like many Italians she would use the tomatoes from her vegetable garden.

In Italian we say  POMODORI FRESCHI  /POH-MOH-DOH-REE  FREH-SKEE/ Fresh Tomatoes

IMG_1380

Serving 4 people

Ingredients 

Half of a medium white onion, finely chopped

500g of plain tomato Passata (You can find passata in any good supermarket, it’s in a carton or in a bottle)

A handful of fresh basil, roughly chopped

Olive oil, 2 tbs

Salt, a pinch

Sugar, a pinch (to lower the acidity of the tomatoes)

How to cook the perfect pasta
350gr of pasta / serving 4 people
Bring 1lt water to the boil and add a table spoon of course salt.
Put the pasta in and cook it following the time on the packet (be careful though, taste the pasta first and then drain it). Make sure your pasta is “al dente” not too hard, not too soft.

Preparation

Heat a large pan, add the olive oil and the onion. Simmer the onion only for a few minutes till golden, don’t cook it for too long as it can easily burn.
Add the passata, the salt and sugar and cover with a lid.

PLAN B: if you haven’t got any passata 2 tins of chopped or plum tomatoes will do! Blend them first if possible and pour them into the oil, follow the instructions as before.

To make it even more authentic and fresh you can use fresh tomatoes, the more ripe tomatoes the better! 300g/400g is just the right amount, wash them and  simply blitz them (with the skin on). Follow the instruction as before.

Turn the heat down and let it cook for 10 minutes, stirring it every now and again.

Finally add you basil and let the sauce embrace the leaves… your sauce is ready, you can pour it on your pasta. Grate some parmesan and enjoy. Pronto!

IMG_1219

Uova al pomodoro….simply delicious

IMG_1185

Eggs, eggs, delicious eggs!! This is my family’s favourite “hot snack” EVER and a Mid-week Meal Savior! Why? quick, simple and delicious. I would make this for lunch as an alternative to a sandwich or wrap. You only need a non stick pan with a lid.

Serving 4

Ingredients

4 eggs

1 tin of chopped or plum tomatoes

2 spring onions, finely chopped or one large

basil, handful

salt, a good pinch

olive oil, 2 tbsp

a loaf of fresh bread (your favorite type)

Preparation

Put the olive oil in the pan and add the spring onion and the basil, simmer on a low heat for 2 minutes. Add the tomatoes and gently stir with a spoon (if using plum tomatoes break them up with a spoon). Add the salt and cook with the lid on for 5/8 minutes. Crack the eggs open and gently place them on the tomatoes. Add some salt on the eggs and cook without the lid for 5 minutes or until your eggs are cooked but the yolk is still runny. If you like your eggs quite firm put the lid on while cooking. Serve on a plate and enjoy with some bread for dipping. Pronto!!!!!

Pane Facile anzi Facilissimo!

I love bread, of course I do…. I am Italian!!!!!

Making your own bread is fun and it’s even better when with the same dough you can make a lovely crusty ciabatta, focaccia, olive bread, sun dried tomato bread and even pizza!

IMG_1393IMG_1391

Ingredients 

500g strong white flour

300ml warm water

7g dry yeast

salt,1 pinch

olive oil,1 tbsp

Preparation

Put the flour into a large mixing bowl and add the salt. Gently mix with a fork. Pour half of the water into another mixing bowl and add the yeast. Thoroughly dissolve the yeast in the water until the water turns into a brownish colour. Pour some of the “brownish” water into the flour and with a fork or your fingers mix it all in. Continue to add water a little at a time ( you will have to add the other half of the water), combining well until you have picked up all the flour from the sides of the bowl. Add the olive oil. Once it is all combined, knead until you have a silky, smooth, elastic dough. Kneading: Push the dough out in one direction with the heel of your hand, then fold it back on itself. Turn the dough by 90 degrees and repeat. Kneading in this way stretches the gluten and makes the dough elastic. Do this for about 4 or 5 minutes until the dough is smooth and stretchy. Work quickly so that the mixture doesn’t stick to your hands – if it does get too sticky you can add a little flour to your hands. Now your dough needs to rest. Place it into a large bowl (you can use the same one you used for the flour), cover the bowl with a damp tea towel, this will avoid the dough once is proven to stick to the tea towel. Set it aside to prove (somewhere warm), this should take 1 hour and the dough should double in size. Now your dough is ready! Cut it in two halves or leave it whole depending on the size of your bread.

For a  crusty loaf: use a large, sharp knife to make shallow cuts (about 1cm/½ in deep) across the top of the loaf to create a diamond pattern. Put the loaf into the middle of the oven and bake for 30 minutes at 220C/200C (fan oven).

The loaf is cooked when it’s risen and golden. To check, take it out of the oven and tap it gently underneath, it should sound hollow. Place on a wire rack to cool.

For a ciabatta type: stretch a piece of dough lengthways and place it on a baking tray. Bake for 25 minutes at 200C/220C (fan oven), or until the loaf is golden brown and sounds hollow when tapped on the base. Cool on a wire rack.

For olive bread : Chop a handful of olives and push them inside the dough (after it has proven). Combine the olives with the dough and make sure they are inside and they don’t stick out. Dust the dough with some flour and bake for 30 minutes at 220C/200C (fan oven), or until the bread is golden brown. Cool on a wire rack.

Riso ai Funghi senza Funghi

IMG_1298

Yes, I know the title doesn’t leave much to the imagination (mushroom rice without the mushrooms?????) but this was my first attempt to make Risotto. It all started at Uni when I was a language student and between one lecture and another I would experiment my cookery skills nearly every day. My flat mate Rita would make her famous VOV for dessert ( a creamy liquor made of eggs). Although it was actually a quite strong liquor, the fact that it was home made it made it completely legitimate!!!! I, on the other hand was responsible for the main. The intention was to make a earthy mushroom risotto, but I didn’t get to go out to buy the mushrooms and the only thing that tasted like a mushroom was some “knor” mushroom cubes!!!! Hence why the mushroom flavour without the mushrooms 🙂 After that episode I would carefully add “propel” mushrooms!

Serving 4 people

Ingredients

300g Arborio rice

500ml chicken stock or 500ml hot water (1 gelatine type chicken cube to mix in the water)

white onion, half,  finely chopped

70g butter

saffron, 1 bag (optional)

150g mushrooms (any type, I would use chestnut mushrooms), sliced

fresh parmesan, as much as you like!!!!!

Preparation

Place the butter on a no-stick pan and melt in on a low heat, add the onion and simmer until golden. Add the rice and stir it. The rice will start roasting and it’s important that it doesn’t burn. Add the mushrooms and mix them with the rice. Have your stock ready and make sure it’s hot, alternatively melt the gelatine cube in the hot water and mix it thoroughly. Gradually add the stock in the pan and keep stirring the rice, repeat this until you have used all the stock.  Sprinkle the saffron and mix it throughly. Cook for another 2 minutes. The rice will look creamy and will taste “al dente” . Serve it with some fresh parmesan, shavings or grated. Pronto!

P.S. Rice takes 14/15 minutes to cook, should you have used all of your stock and the rice  feels still quite hard, I would recommend to add a little water but don’t over cook it! Never cook your rice for longer than 15 minutes !

IMG_1382

P.S.2. I like to use the same basic recipe with other flavour combinations: Asparagus and Mushrooms, Broccoli and Sweet corn, Asparagus and Salmon, Prawns and Courgette……and so many more……..

Ravioli di Patate e Menta

IMG_0999

#BringNonnaBack with Food Revolution!

This is the STAR of our Food Revolution Day we recentely held at our local school.

A wholesome, fresh and super tasty recipe and an ideal alternative to meat or ricotta ravioli. The potato filling makes the whole dish a perfect main course! As a child I would help my Mum and Nonna make this delicious recipe and as well as kneading the dough I would help rolling the filling into small balls… In Italian we say:

FARE LA PASTA = making pasta
PATATE = potatoes
MENTA = mint
POMODORO = tomato

Serving 10 

Ingredients 

For the Ravioli:

Plain Flour Tipo  “00”       250g

Semolina     250g

White Potatoes   5/6 large

Mint, finely chopped    1 bunch

Spring Onions    2

Garlic Cloves   1 whole

Extra Virgin Olive Oil     4 tbsp

Water 1 glass

Salt, large pinch   1

Parmesan, grated     50g

For the Sauce:

Tomato Passata      2 bottles (680g per bottle)

White Onion, half, finely chopped

Basil, finely chopped      1bunch

Olive Oil, 2 tbsp

Salt, 1 pinch

Filling : Peel the potatoes and cut them in small chunks. Boil them until soft, put them into a large bowl and mash them until creamy and smooth.
In a small pan put the olive oil, the spring onion finely chopped and the garlic clove. Put it on the heat until simmering. Take the pan off the heat and the mint. Let the oil cool down.
Take the garlic out and pour the oil in the mash, add the grated parmesan and a pinch of salt. Stir it until soft and smooth. Add some more salt if needed.
Pasta: Place the flour and the semolina on a board or in a bowl and make a well in the centre. Add some water and mix it together
Once it is all combined, knead until you have a silky, smooth, elastic dough. You are aiming to achieve a play dough texture.
If your dough is crumbly (too dry) add a teaspoon of water. If the dough sticks to your hands (too wet) add a little extra flour or semolina. Cover with cling film and rest for 30 minutes.
Take a tennis ball-sized amount of dough, squash it flat with your fingers, push it through the pasta roller on the widest setting. Fold into thirds, then repeat 3 times. Once you have a rough square shape, start working it through the machine, taking it down one setting at a time, until the thinnest setting.
You should end up with a long sheet of pasta about 8-10cm wide. Place this on a flat surface with flour underneath to stop it from sticking.
Flour the ravioli mould and place one sheet of pasta over the ravioli maker.  Gently press the pasta  into the depressions of the mould to form cups. Place about a tablespoon of filling into each pocket
Place another sheet of pasta over the ravioli filling. Use a rolling pin to press the two layers of pasta together. Start with gentle pressure to press out any air and to form a seal. Then use more pressure to cut the pasta into individual ravioli.  Peel off excess dough from around the ravioli. Turn the ravioli maker over and give the mould a shake.  The ravioli should easily fall out of the mould. Dust the ravioli with some flour so they won’t stick together. In a large saucepan bring 1/1.5l water to the boil and add a table spoon of coarse salt. As the water is boiling gently place your ravioli into the water, 5 at the time. They will cook pretty quickly ( as soon as they floating you know they are cooked). Use a small colander to get the out and gently place them on a serving dish.
Sauce: In a large pan put the olive oil, the onion and some of the basil. Put it on the heat until simmering. Add the passata, a pinch of salt and cover with a lid, cook on a low heat for 10 minutes. Add the rest of the basil before serving.
Now pour the sauce on your ravioli , sprinkle some parmesan and enjoy !!!

Lezione 1

IMG_1322IMG_1159

As a language tutor I have been trying to find a fun way to teach new languages (there are lots of conventional ways i.e. reading and studying endless and hideous grammar books!). However it can be simplified when spoken and used in a very easygoing set up. I came to the conclusion that a combination of traditional food and a very casual Italian lesson is the key!

Senza libri ma solo con il grembiule e magari con un bicchiere di Chianti (Wine that everyone knows how to pronounce and drink!!!!). As a matter of fact, the “CH” sound in Italian is pronounced “K” but for some reason people will still find it difficult to pronounce the “CH” as a “K” when appears in other vocabularies : MOSCHINO pronounced “MOH-SKI-NOH”, CHILO pronounced “KEE-LOH”, TACCHINO pronounced “TAH-KEE-NOH” e BRUSCHETTA pronounced “BROO-SKEH-TAH”

BRUSCHETTA

A versatile dish, served as a starter is great for any occasion! I would normally use the ciabatta type bread (home made!!! recipe in Pane Facile….) but any type of thick, dense, sough dough bread is ideal as well (stale bread is an option too….better if put in the oven for 5 minutes before slicing it). I have even used the traditional sliced bread which with young children is extremely easy and quick to prepare, a peace of toast with you favourite topping!!!!

Serving 8/10

Ingredients

1 large loaf of bread (ciabatta, tiger, baguette)

300g good quality cherry tomatoes

garlic, 2 cloves

basil, 1 handfull

salt, a good pinch

olive oil, 1/2 tbsp

Preparation

Cut the tomatoes into quarters and put them in a large bowl. Chop the garlic very finely and add it to the tomatoes, mix with a spoon. Add the salt, the olive oil and stir. Finely chop the basil and add it to the tomatoes. Leave the tomatoes to rest for 5 minutes while all the lovely flavours are combining together. Slice your bread (1.5/2cm thick) and place the slices on a large flat dish. Pour the tomatoes equally on each slice. Drizzle some olive oil before serving. Pronto!!!!!!

P.S. Don’t worry if you make too much it’s always good the next day.

IMG_0905 IMG_0921

Ciao Mondo Bello!

IMG_0924

I just cant’t believe I am actually writing about my passion for food…. Can I start from when I was LITTLE? Helping my Mum making fresh pasta because in those days it was what you would do on a Sunday afternoon….Nowadays I would make fresh pasta as a treat for my children ( on a Sunday afternoon to keep up with the tradition), as a therapeutic way to forget about homework and football training! This is how it all started….. Ravioli di Patate e Menta is the first dish I ever cooked (or co-cooked) as I thought I was actually helping my Mum making it. Apparently I was spending more time in tasting the filling and playing with that edible play dough than kneading the dough and filling the pasta. For a 9 year old  that was all that mattered at the time! Grazie Mamma, questo e’ per te xxx